Getting Started
Getting started with Summa Theme
Install the Theme
Installing a WordPress theme is super easy, you’ll see.
- Navigate to Appearance → Themes in your WordPress admin dashboard.
- Click the Add New button at the top of the page then go for the Theme Upload option.
- For the file upload, pick Theme Files / summa.zip in the theme package downloaded from ThemeForest and click Install Now.
- Click Activate once the upload has finished.
- Unzip a zip file package – the zip package is inside Summa files folder you have downloaded from ThemeForme
- Connect to your FTP
- Upload the extracted theme to: theme to: wp-content/themes/ And just replace exxisting files and folders.
- Lastly, update the includeed plugd plugins. You will see a notification message let letting you know the plugins have a new version and need to be updated. You should update the plugins. You can see Update Plugin fo Plugin for more de
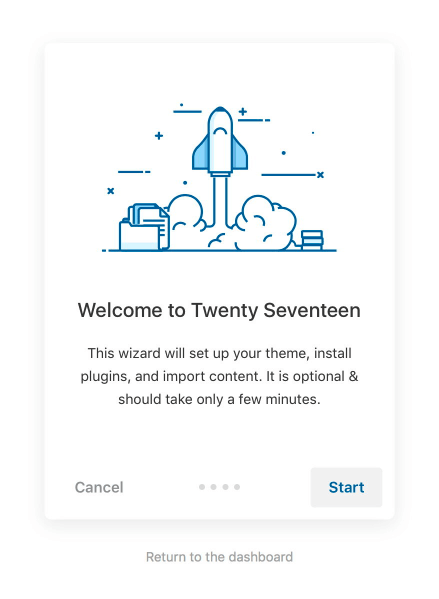
Theme Setup Wizard
It makes installing a new WordPress theme, its recommended WordPress plugins, Customizer settings, widgets, and demo content, an exciting and gratifying user experience.
- Install Child Theme - Let's build & activate a child theme so you may easily make theme changes.
- Install Plugins - Let's install some essential WordPress plugins to get your site up to speed.
- Import Demo Content - Let's import content to your website, to help you get familiar with the theme.
Installing Plugins
Right after the theme was activated, the Theme Setup Wizard will run on the screen and there is a step on the installation of the plugins recommended for getting the best our of your theme.
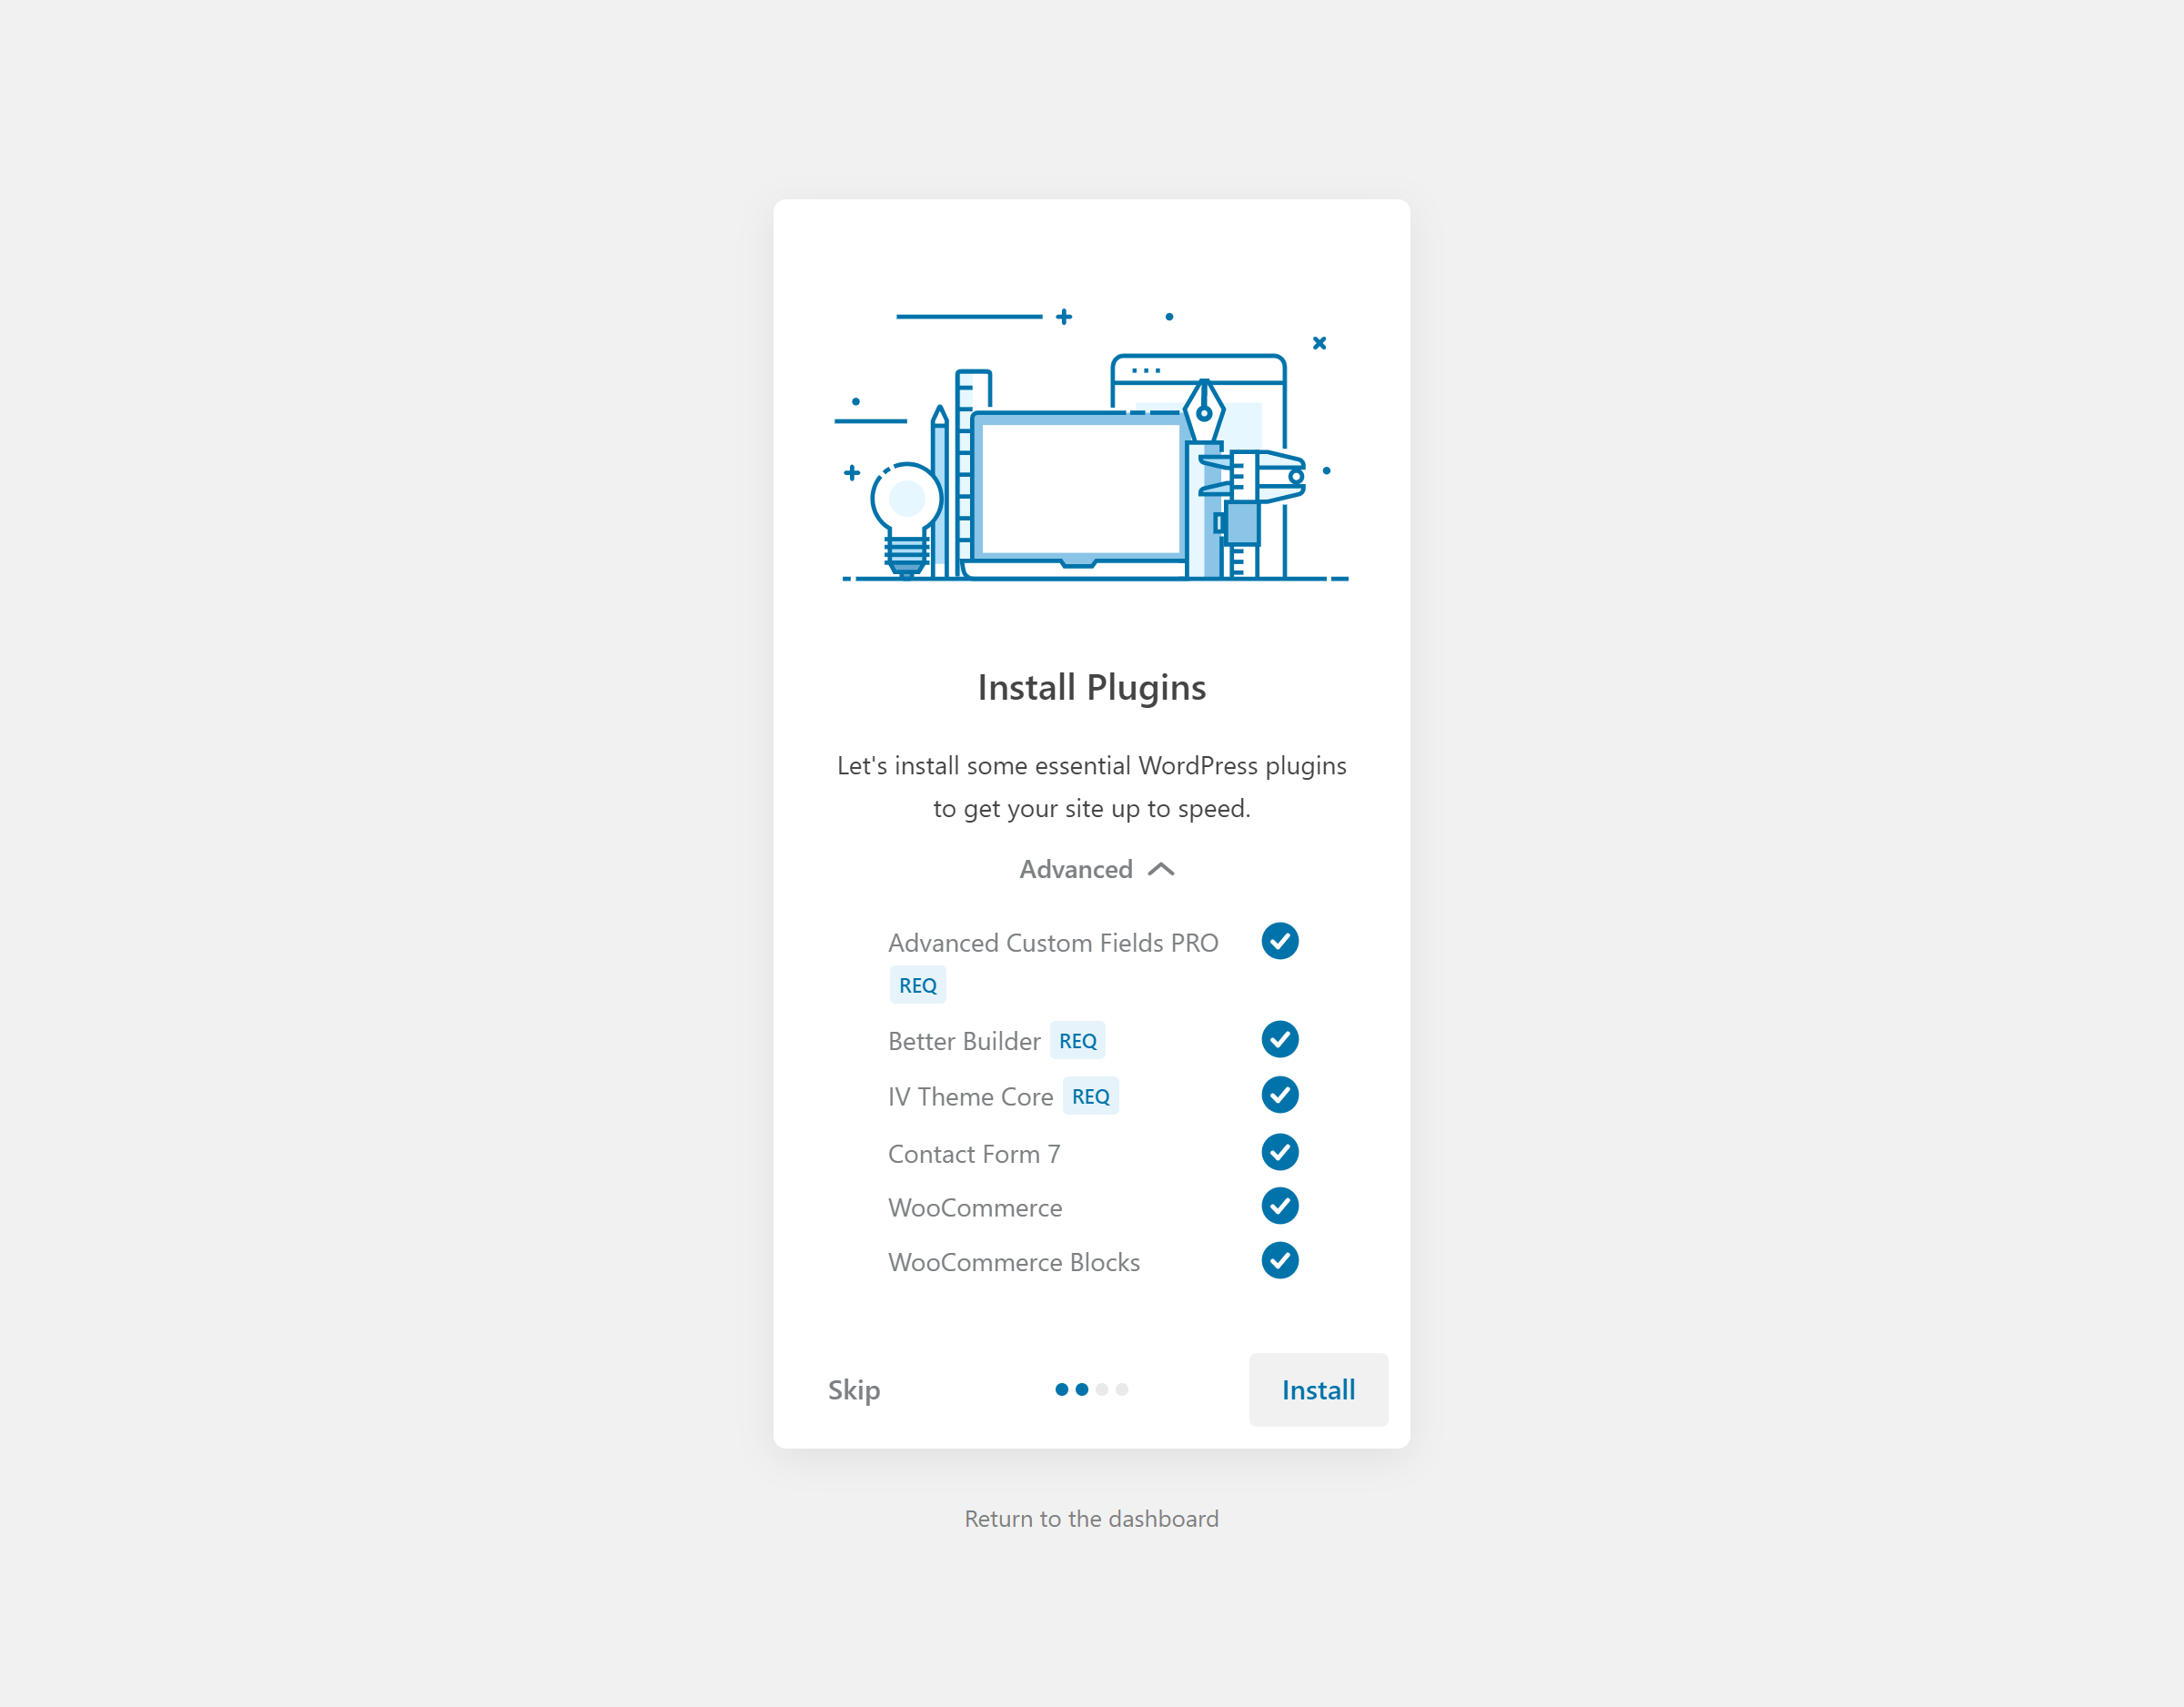
- Select all the plugins in the list.
- Click Install button to begin activating the plugin.
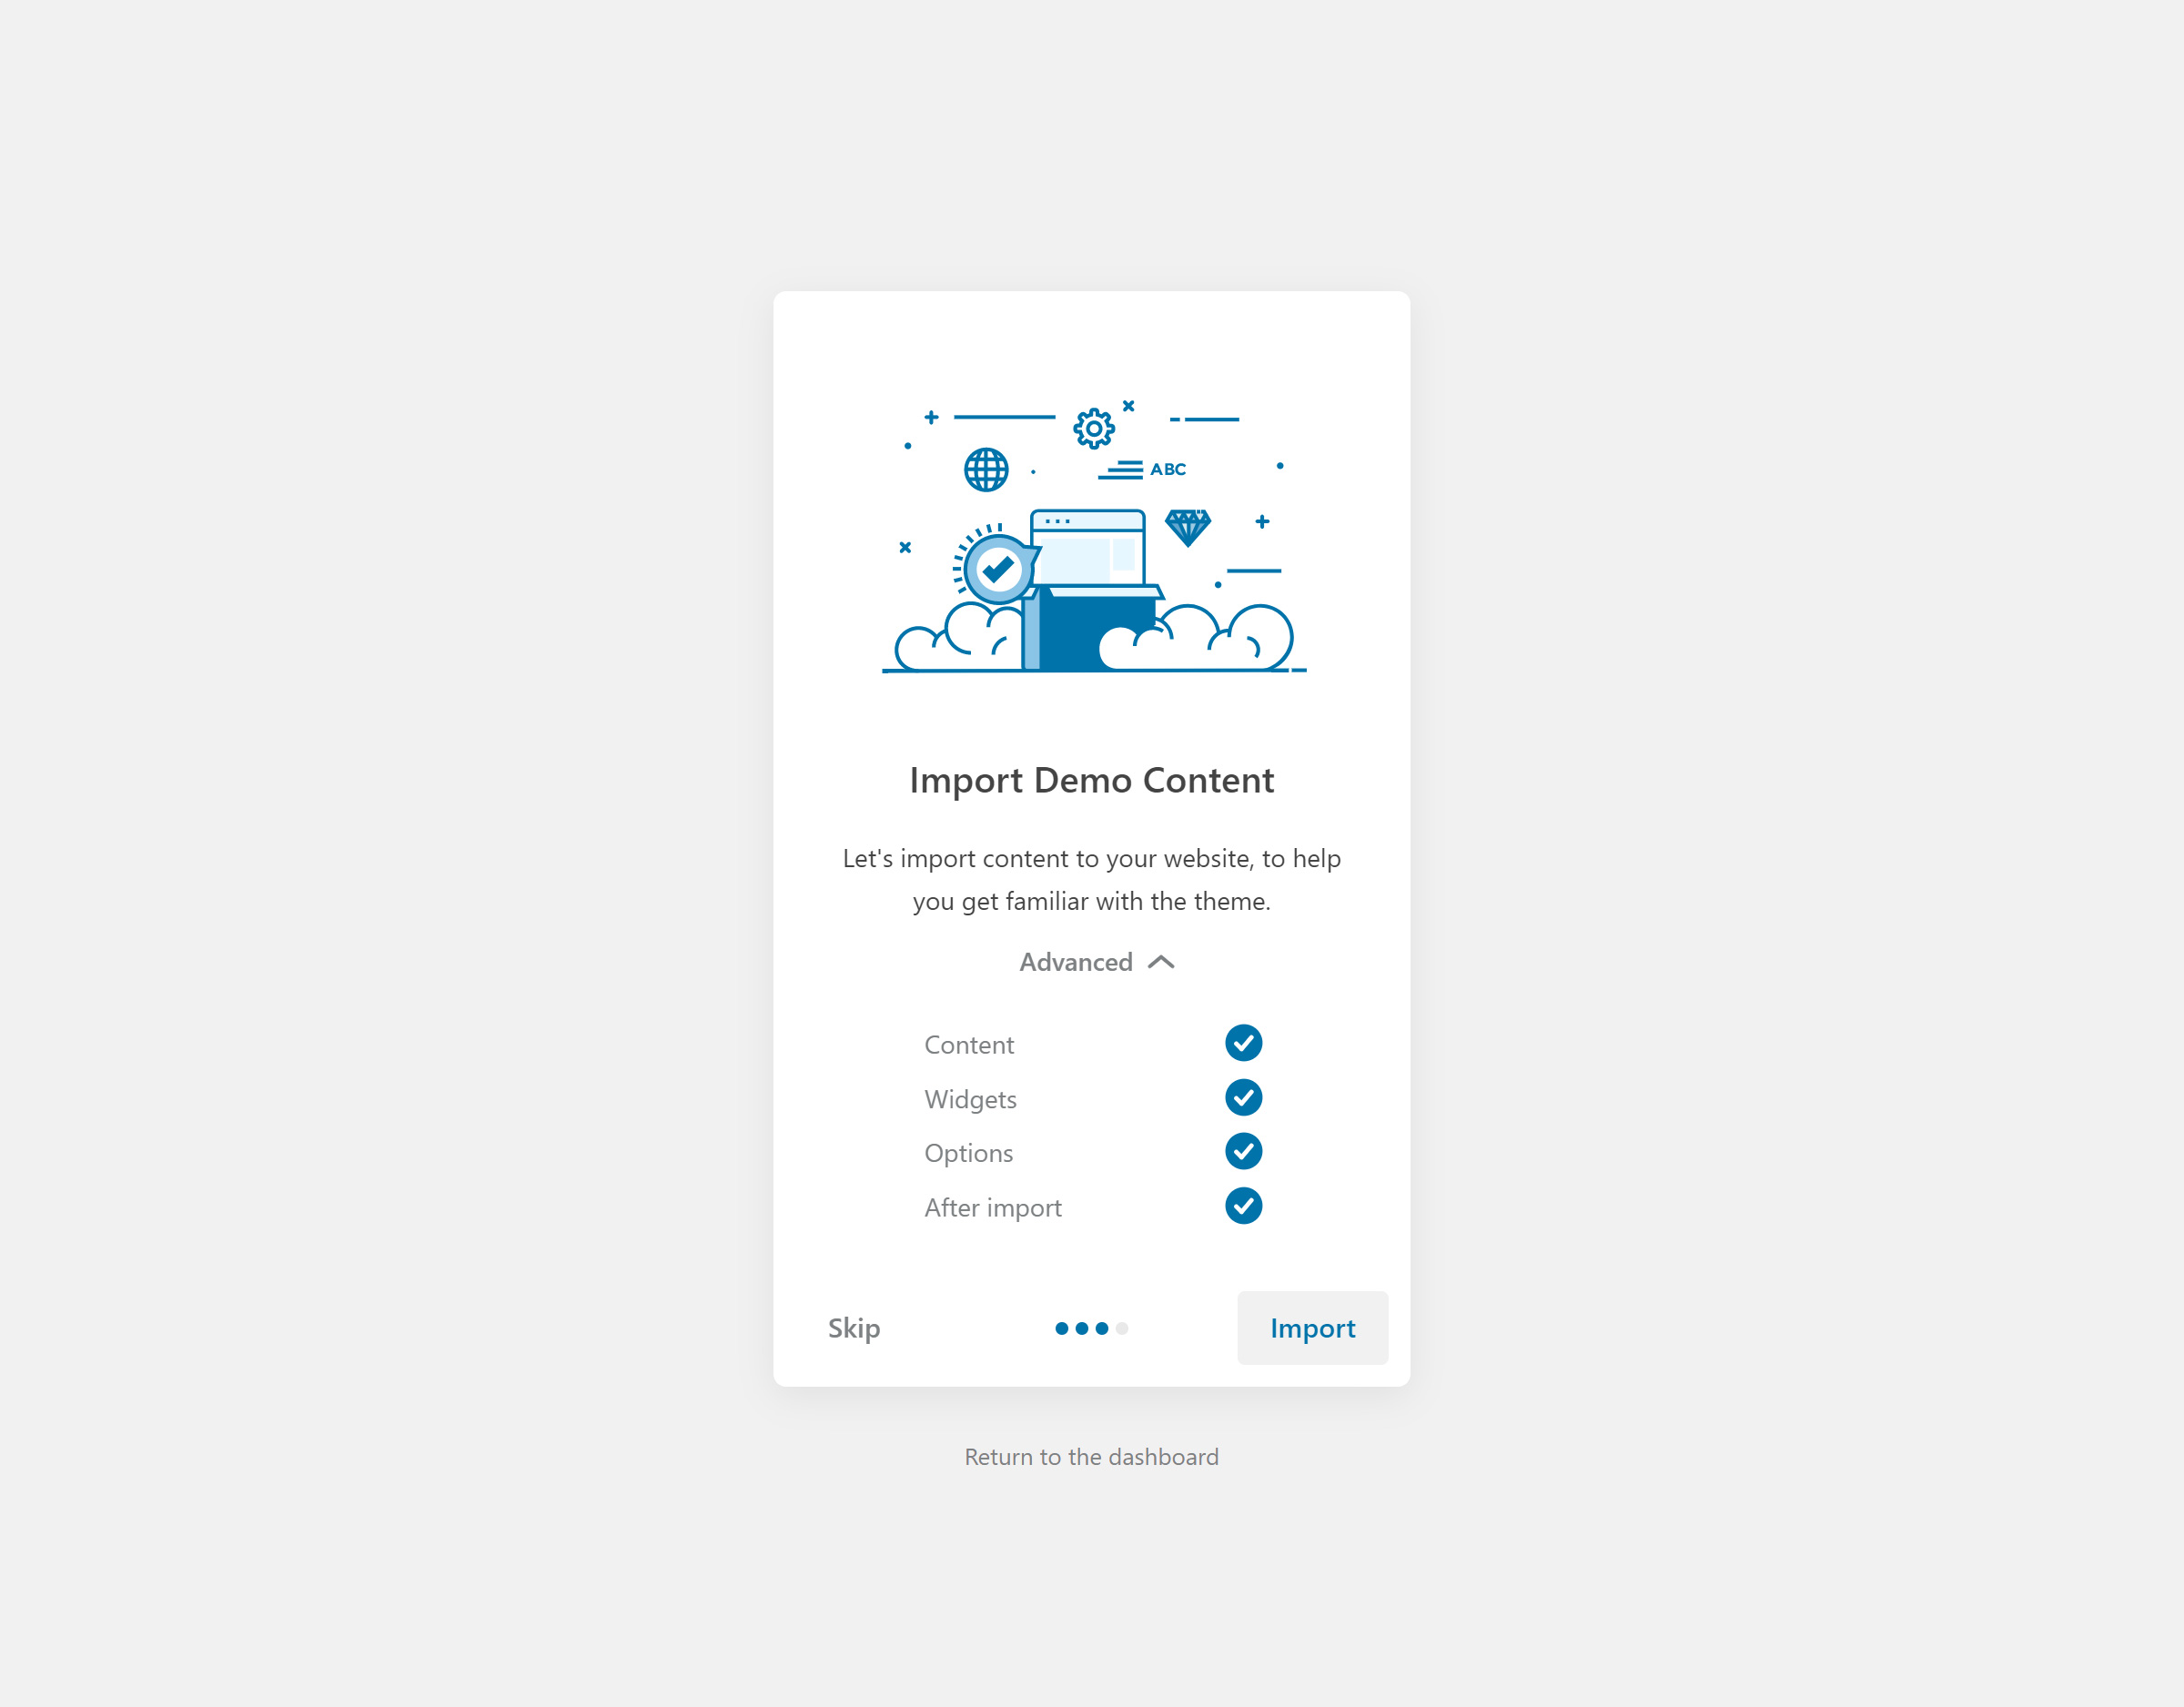
Importing Demo Content
Summa Theme allows you to import any of the demos with one click via the Theme Setup Wizard. You can choose or select an options to import data.
- In your WordPress admin dashboard, navigate to Appearance → Summa Setup
- Go to the Import Demo Content step on setup wizard and select data you want to import
- Click on Import button to import data
Note: The more images a demo imports, the longer the import will take. Because of this, if your demo fails to import, it’s most likely because your server PHP max_execution_time setting is set too low. max_execution_time can normally be set to 40 seconds to prevent server lockups from unresponsive scripts. If your demo import fails after loading for a little, you’ll need to increase it to at least 100 seconds to allow the import to complete. If you’re unfamiliar with editing PHP settings, your hosting company will be able to handle this for you.
Blog
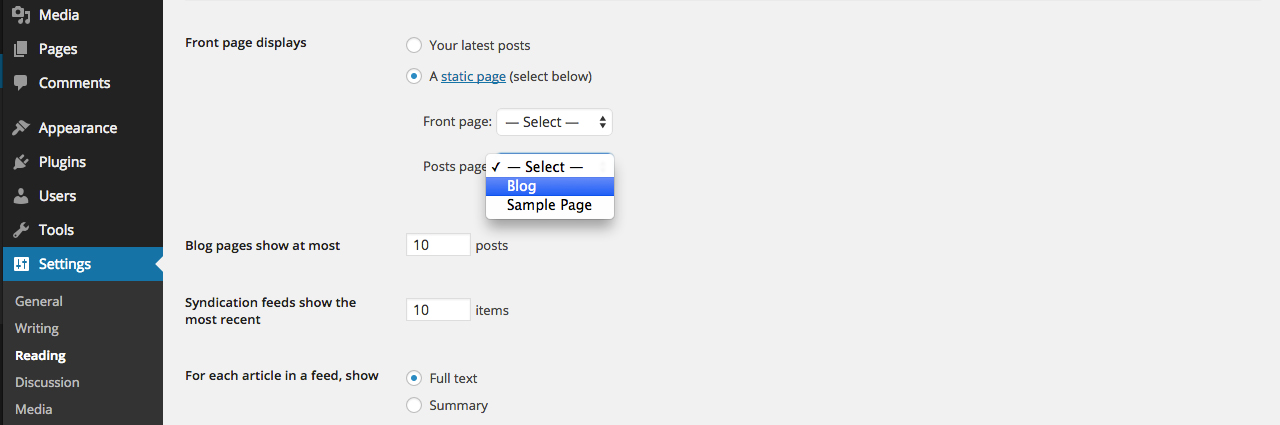
To setup the blog page, in your WordPress admin panel, navigate to Settings → Reading
Assuming you already have a page named “Blog“, for the Front page display, select “A static page” and choose your “Blog” page as the Posts page.
This is what you should be seeing on your screen:
To start adding posts to your blog, navigate to Posts → Add New
- Start filling in the blanks: enter your post title, write your actual body content in the main post editing box below it.
- As needed, select a category, add tags, and make other selections from the sections below the post.
- When your post is ready, click Publish.
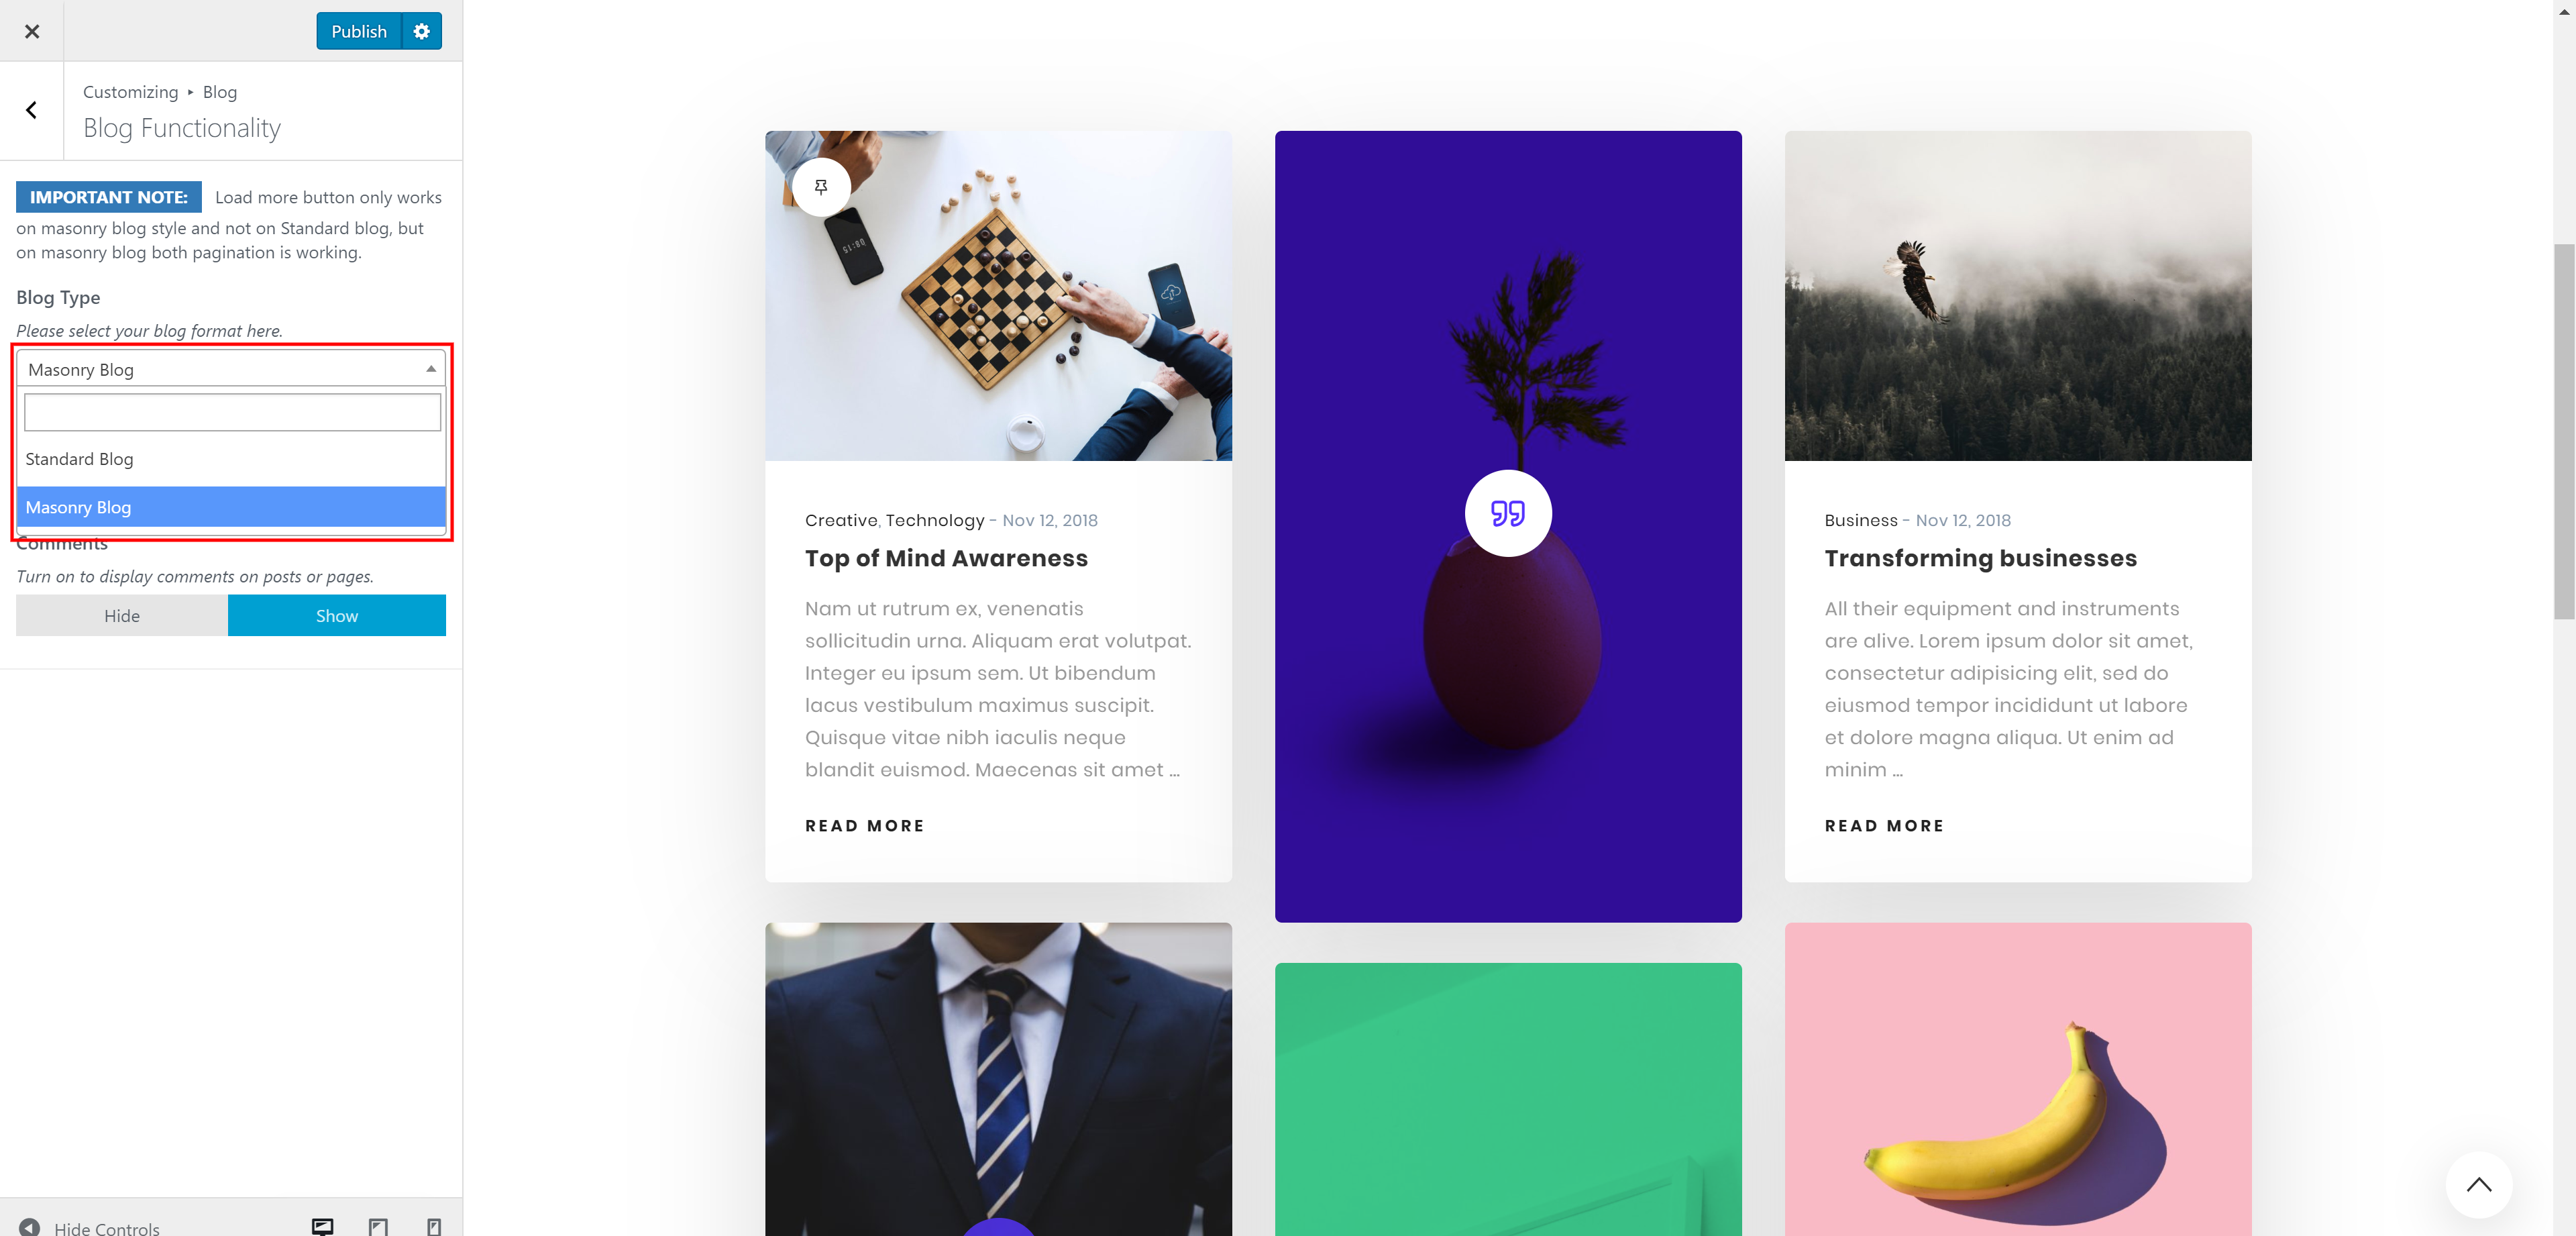
To start changing the blog style, navigate to Appearance → Customize → Blog → Blog Functionality
Homepage
You are able to set any page as your homepage for your website:

- Go to Settings → Readings → Select A static page → Front page → Choose Home page or any page as you want.
- Hit Save Changes.
Theme Configuration
There are two menu locations to help you organize your website: Footer Menu, Header Menu. To create a new menu:
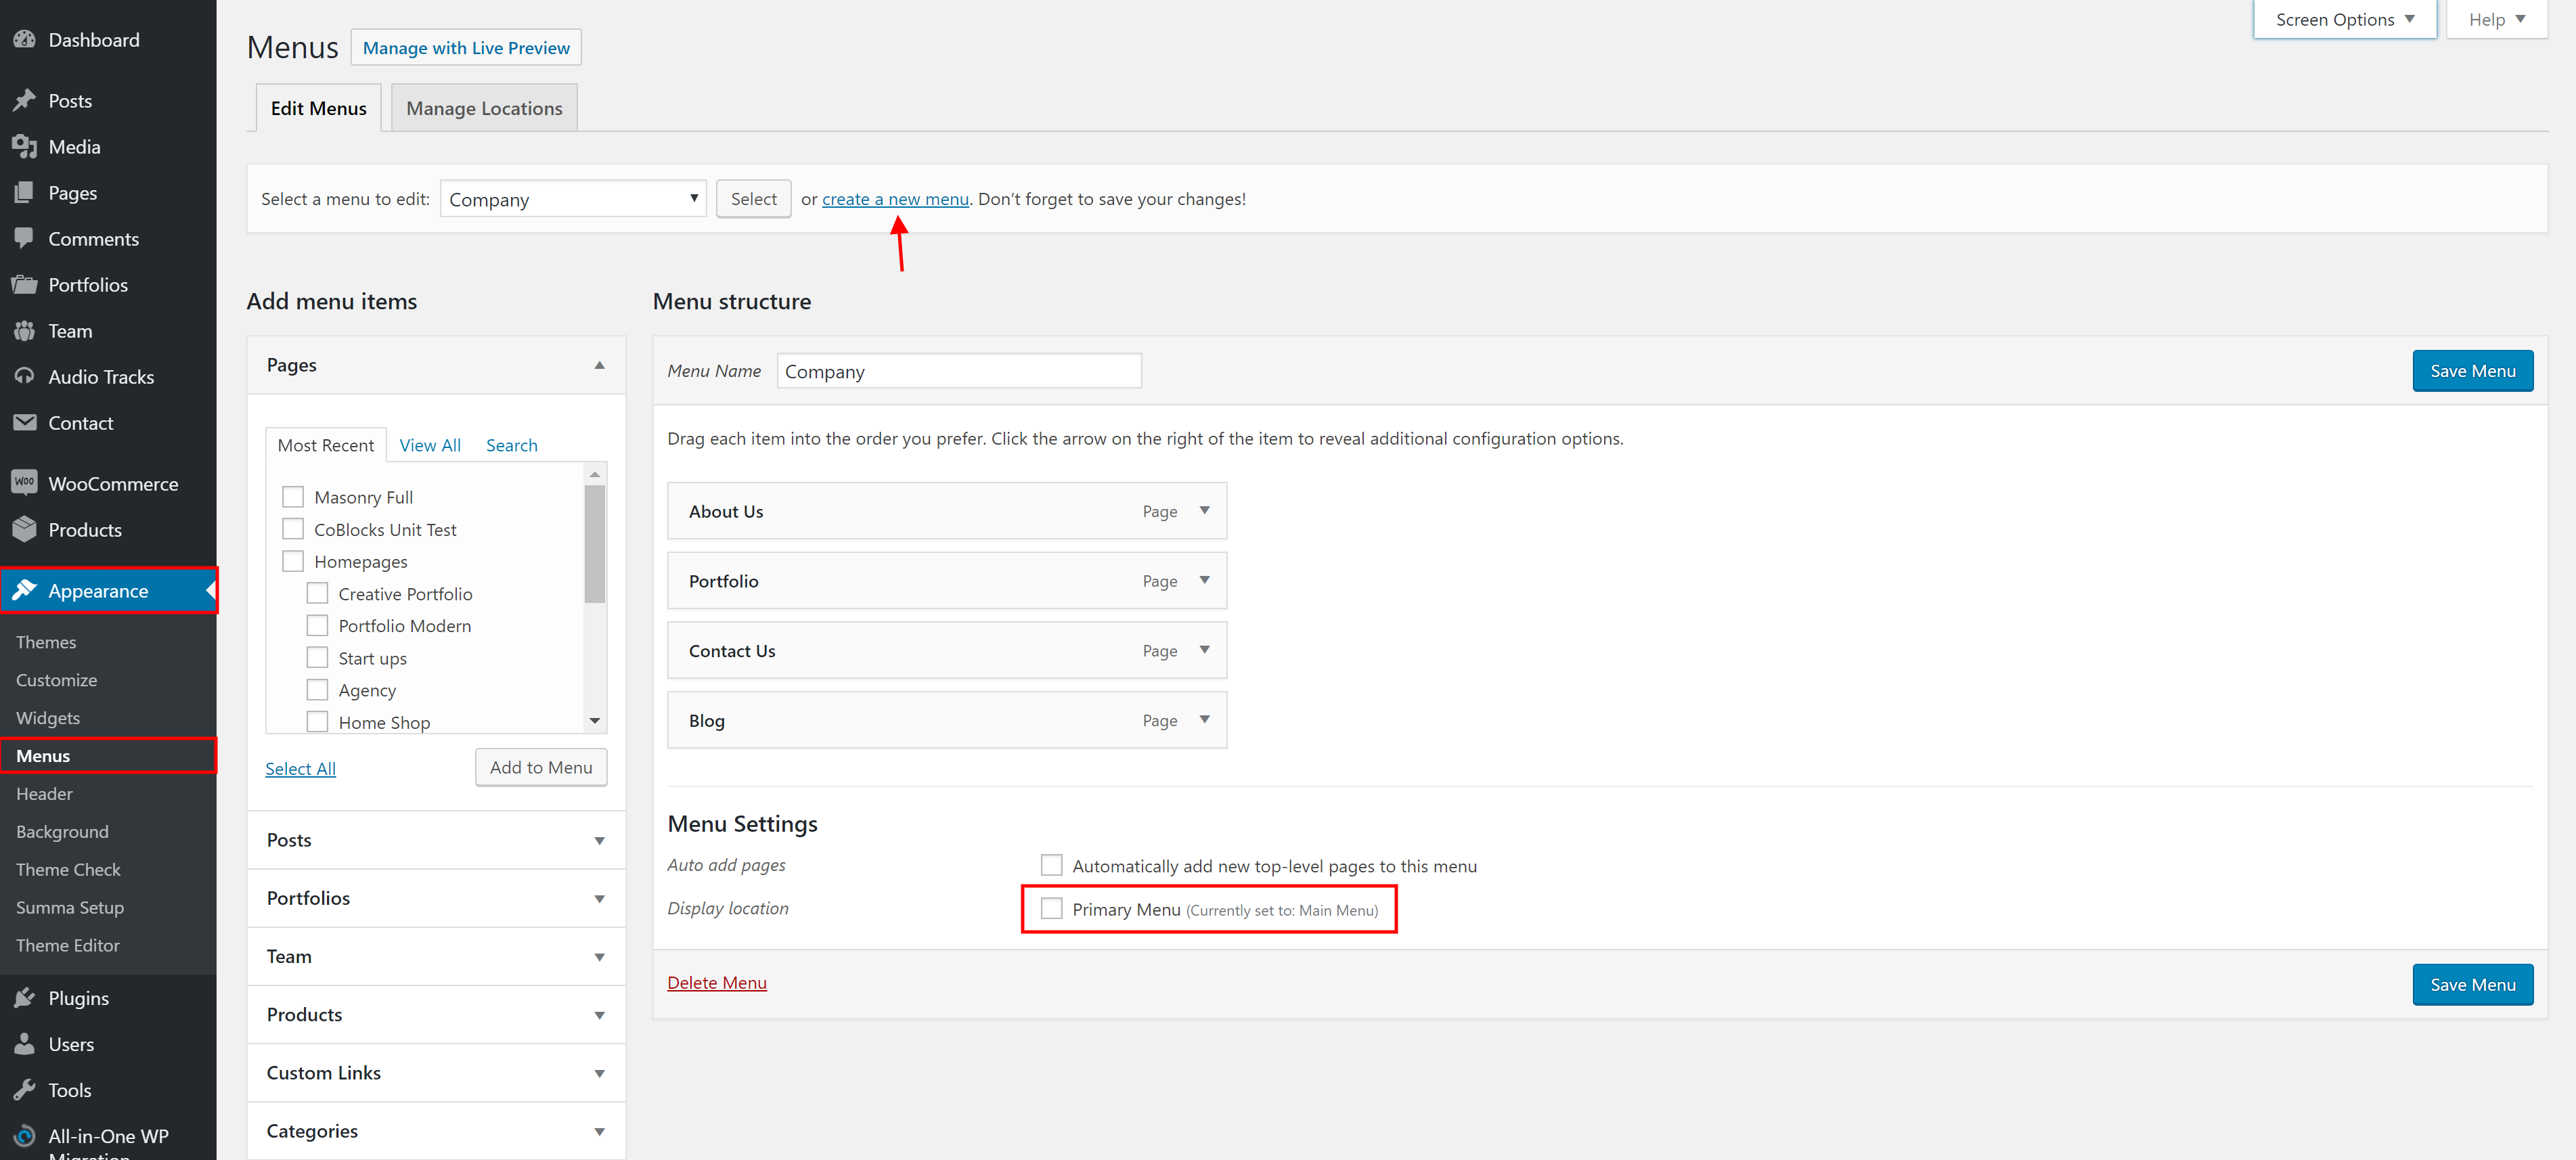
- Go to Appearance → Menus → Hit Create a new menu.
- Give your menu a name → Hit Create Menu.
- In Pages: Select pages, links or categories to add to your menu → Hit Add to Menu
- In Menu Settings → Choose the Theme locations
- Hit Save Menu.
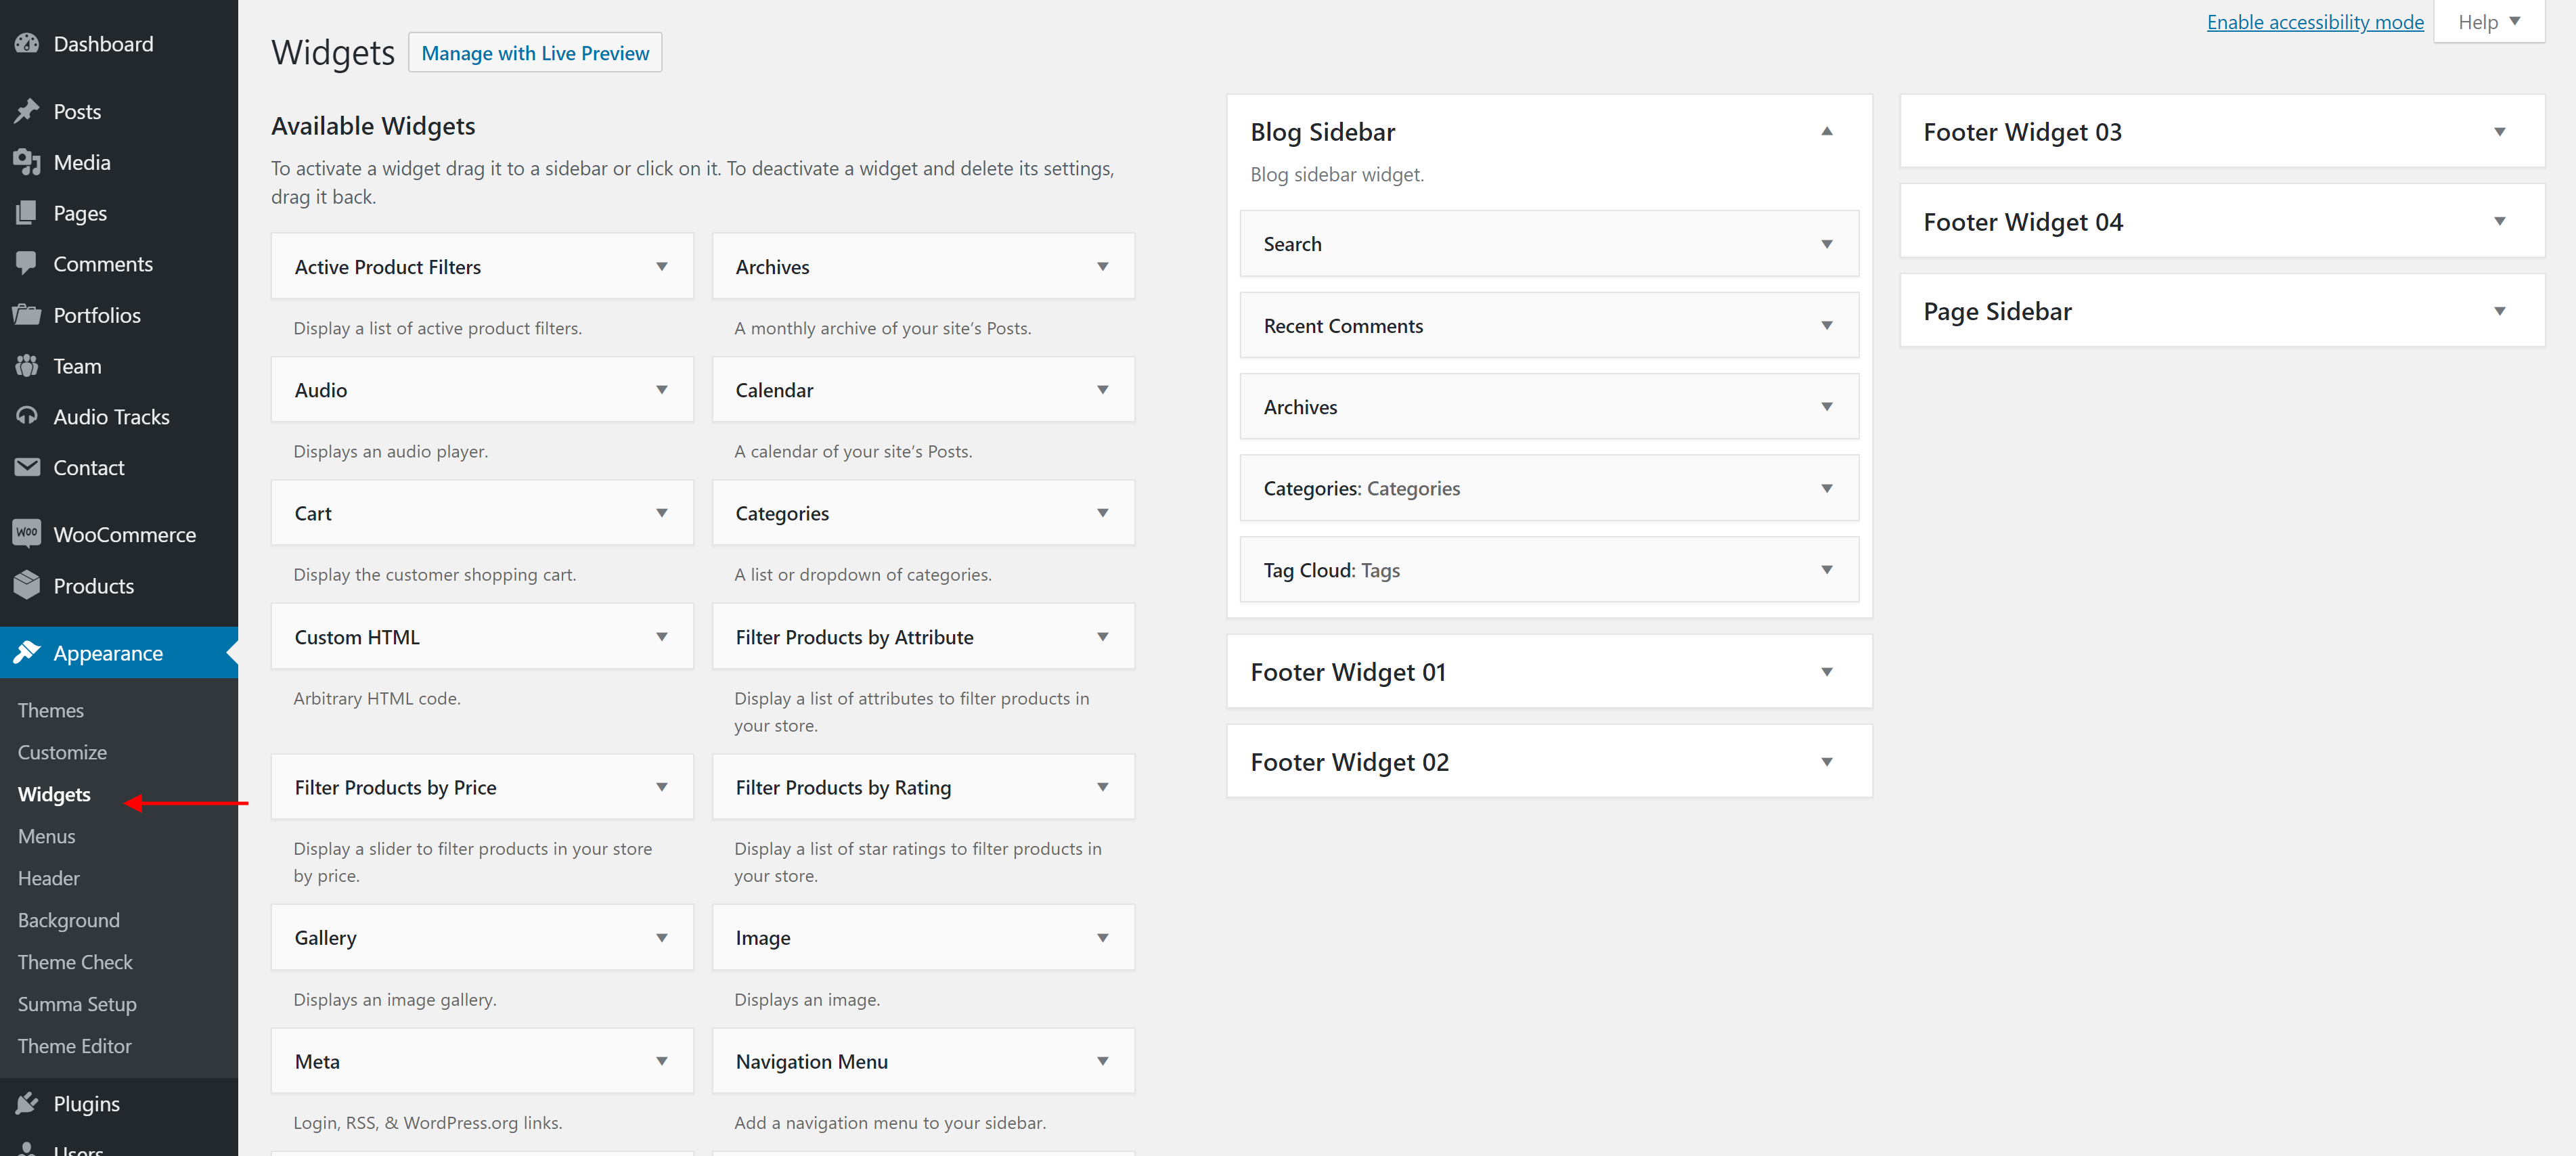
You can see a list of all the widgeidgets. You can configure a widget by drag and drop it to theop it to the sidebar. You can position them and modify the content as you wan, go to WordPress Dashboard → Appearance → Widgets.
You can choose the Page Layout: Summa - Full Width, Summa - Wide
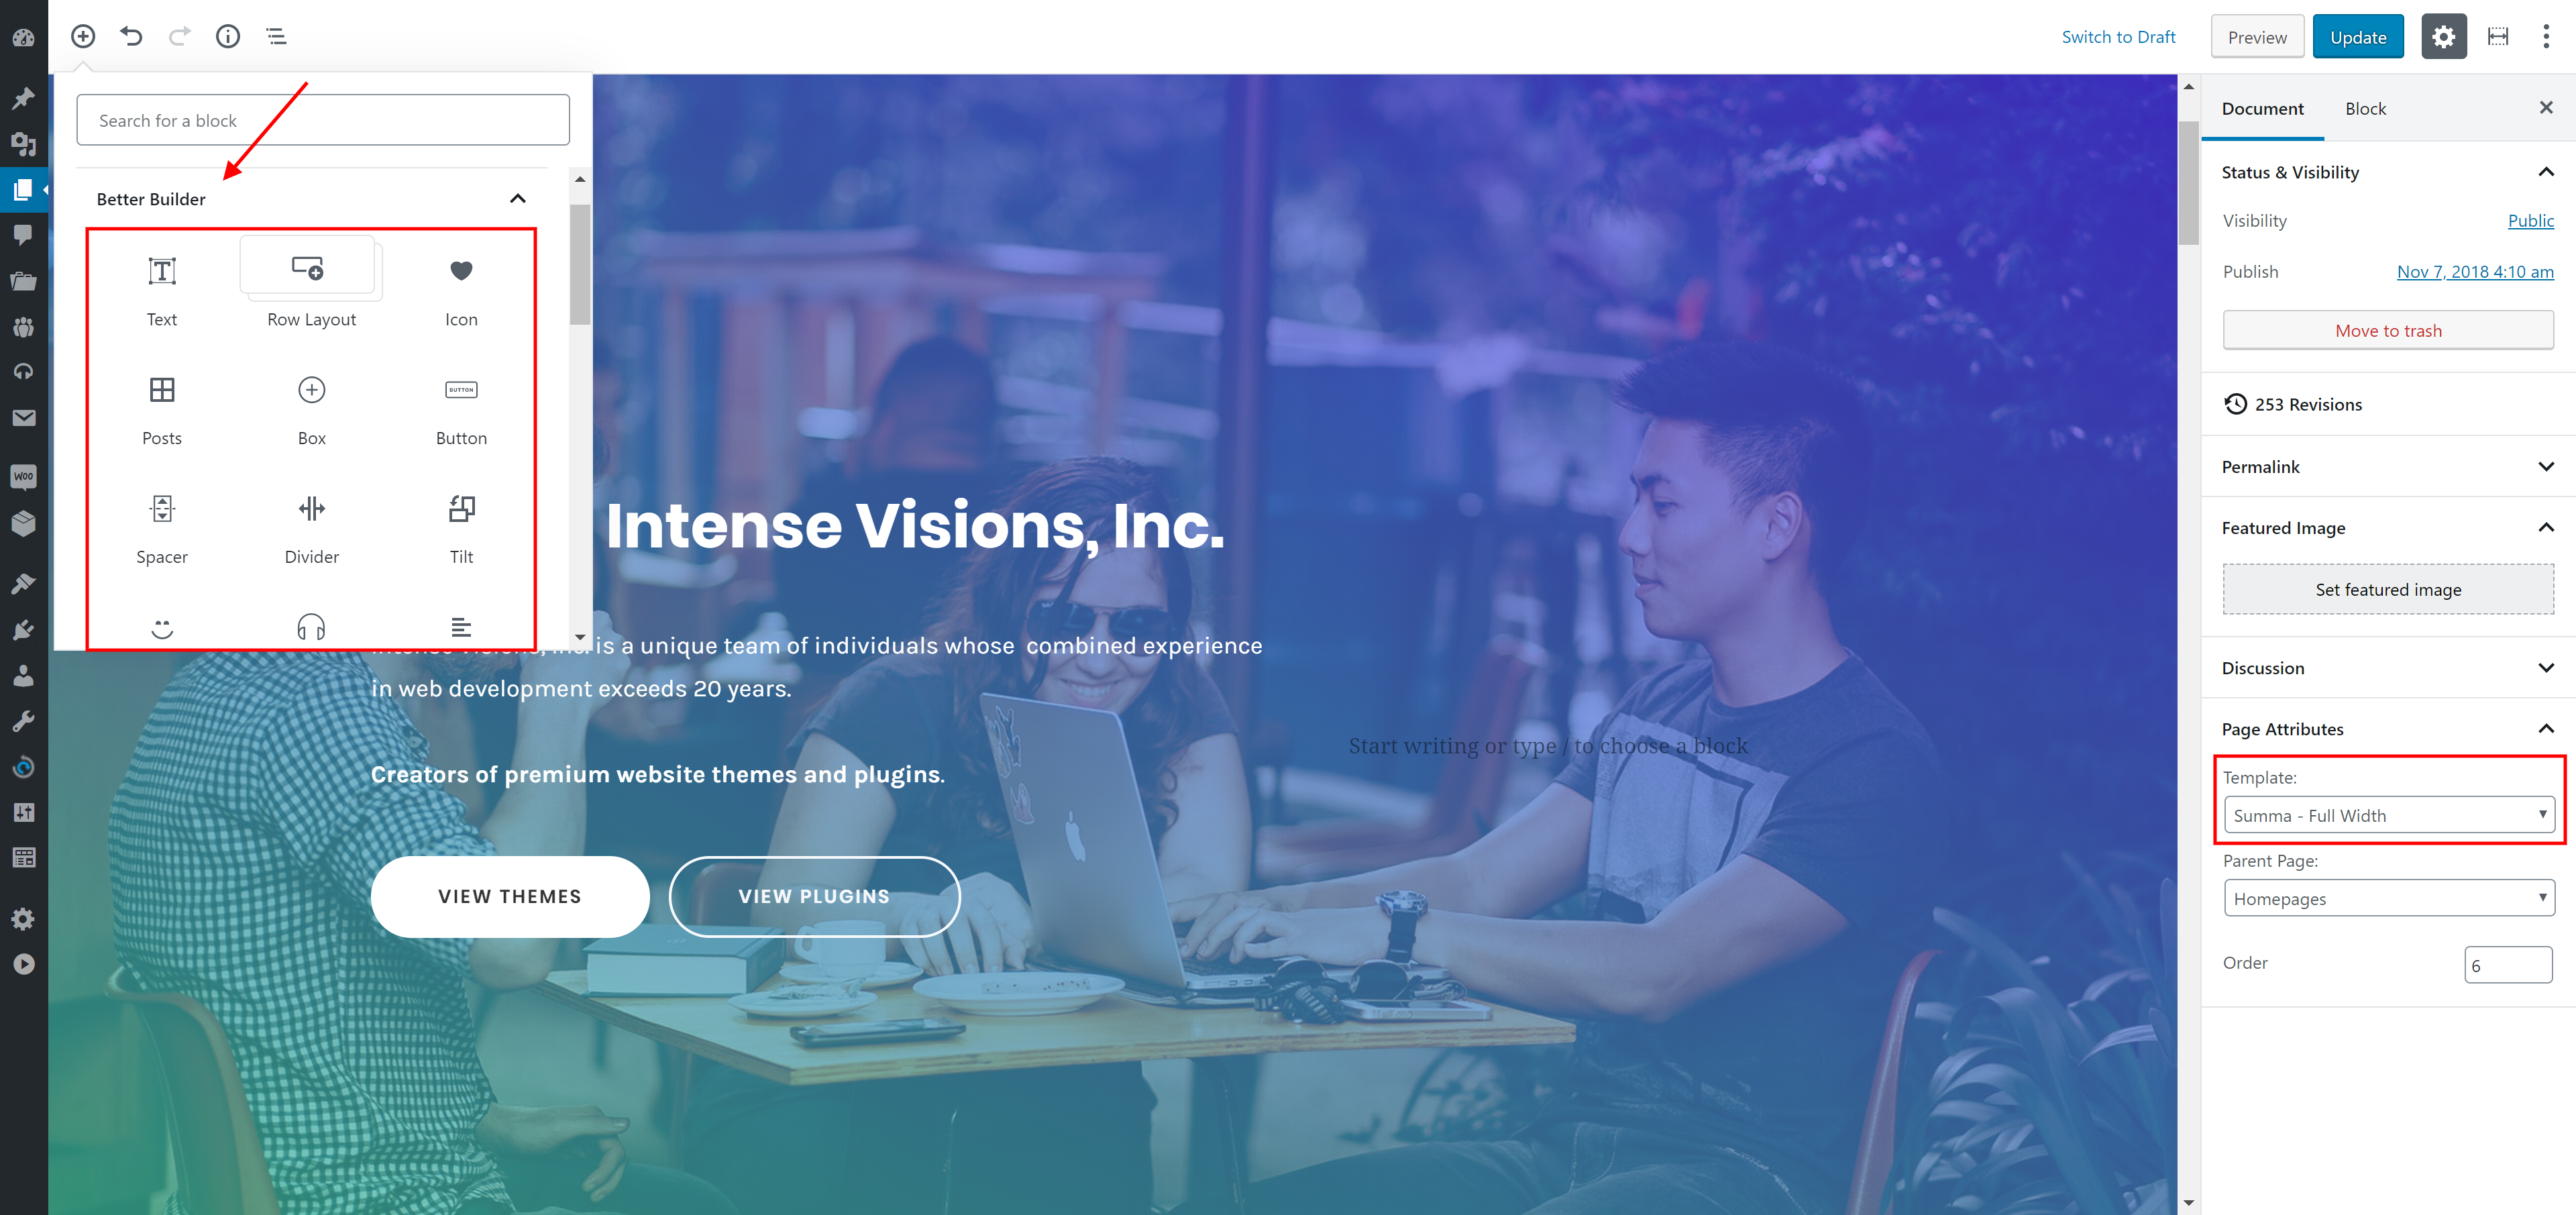
To create a new page navigate to Pages dashboard menu item in your WordPress admin panel and click on Add new button.

- Input a new name for your page, then find the Page Attributes box on right side.
- Set your Parent page. It’s usually set to No Parent.
- Set your page template from from the Template dropdown list.
- Go to Page Settings to make the page you want
Usually, the page consists of Blocks, Columns and some other elements that can be edited via Gutenberg. Before you start, please check the following tutorials:
With tons of shortcodes to choose from. Since each blocks comes with many options, it is simple to make the blocks fit the look of your website. Summa enables you to build modern layouts like the pros with little effort using the new WordPress Editor.
Theme Customizer
To start configure Summa Theme, navigate to Appearance → Customize to flexibly control the appearance and behavior of the whole website as well as individual types of posts, pages and categories.

-
Header
-
General
- Header Height
- Header Overlay
- Header fullwidth
- Search Button
- Cart Icon Display
- Header Style
- Header Type
- Background Color
- Header Color
- Button
-
Logo
- Default Logo
- Dark Version
- Light Version
- Logo Width
- Logo Padding
- Sticky Logo
-
Navigation
- Main Menu
- Main Menu Dropdown
-
Header Sticky
- Sticky Enable
- Mode
- Height
- Padding
- Background Color
- Header Color
- Button
-
General
-
Typography
- Secondary Font family
- Link Colors
- Body Typography
- Heading Typography
- Button Colors
-
Layout
- Site Width
-
Sidebars
- Pages
- Search Page
- Front Latest Posts Page
- Blog Posts
- Blog Archive
-
Colors
- Primary Color
- Secondary Color
-
Background
- Body Background
- Main Content Background
-
Footer
-
General
- Show Footer Social Networks
- Footer Divider
- Footer Style
- Typography
- Font Size
- Background
- Footer Colors
- Footer Widget Enable
- Footer Copyright Text
- Footer Info Box Enable
-
General
-
Page Title Bar
- General
- Style 01
- Style 02
-
Blog
- Blog Single Post
- Blog Functionality
- Social Networks
- Social Sharing
-
Advanced
- Advanced
- Custom Code
- Menus
-
Site Identity
- Site Title
- Site Icon
- Widgets
- Static front page